
Cozy, chocolatey vibes with a pine cone twist
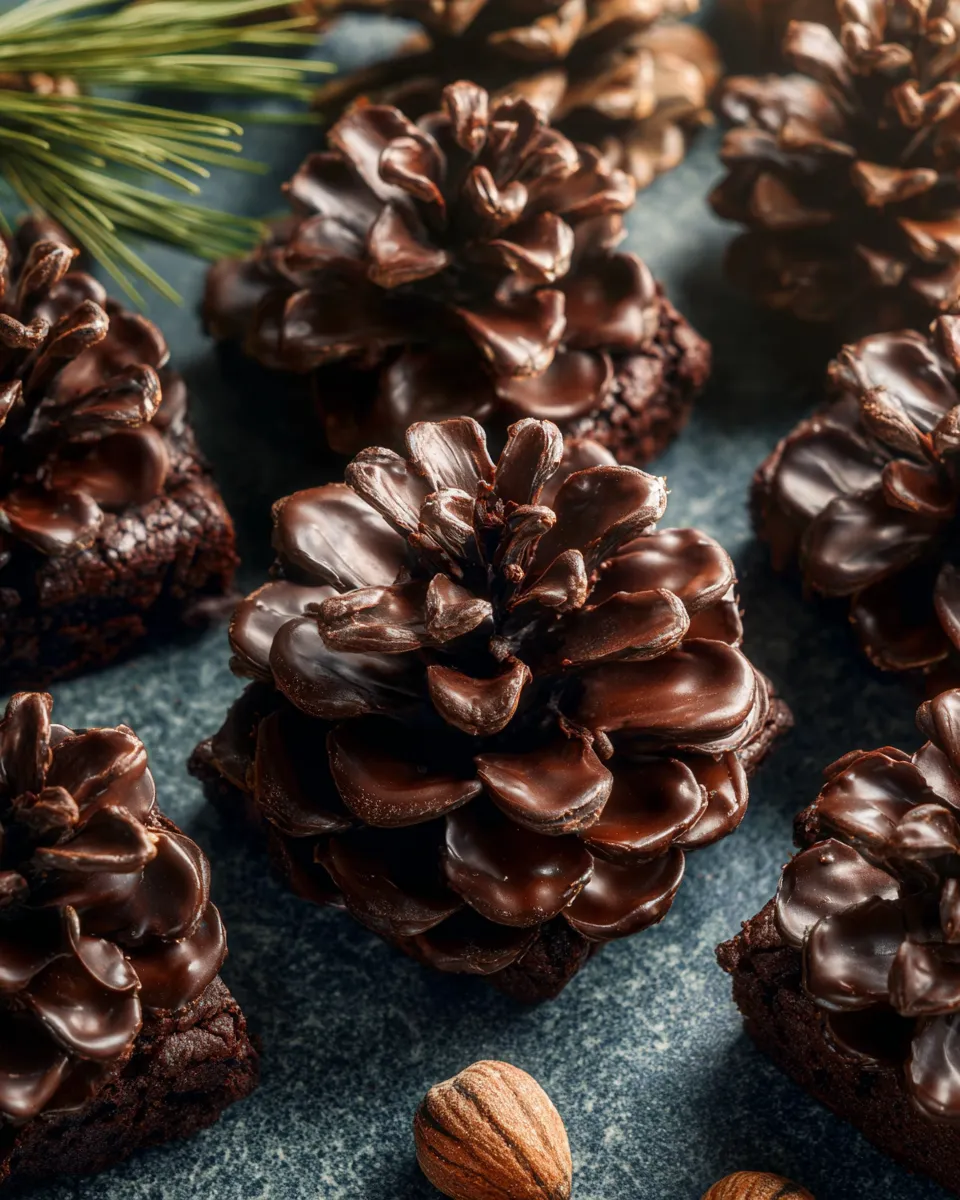
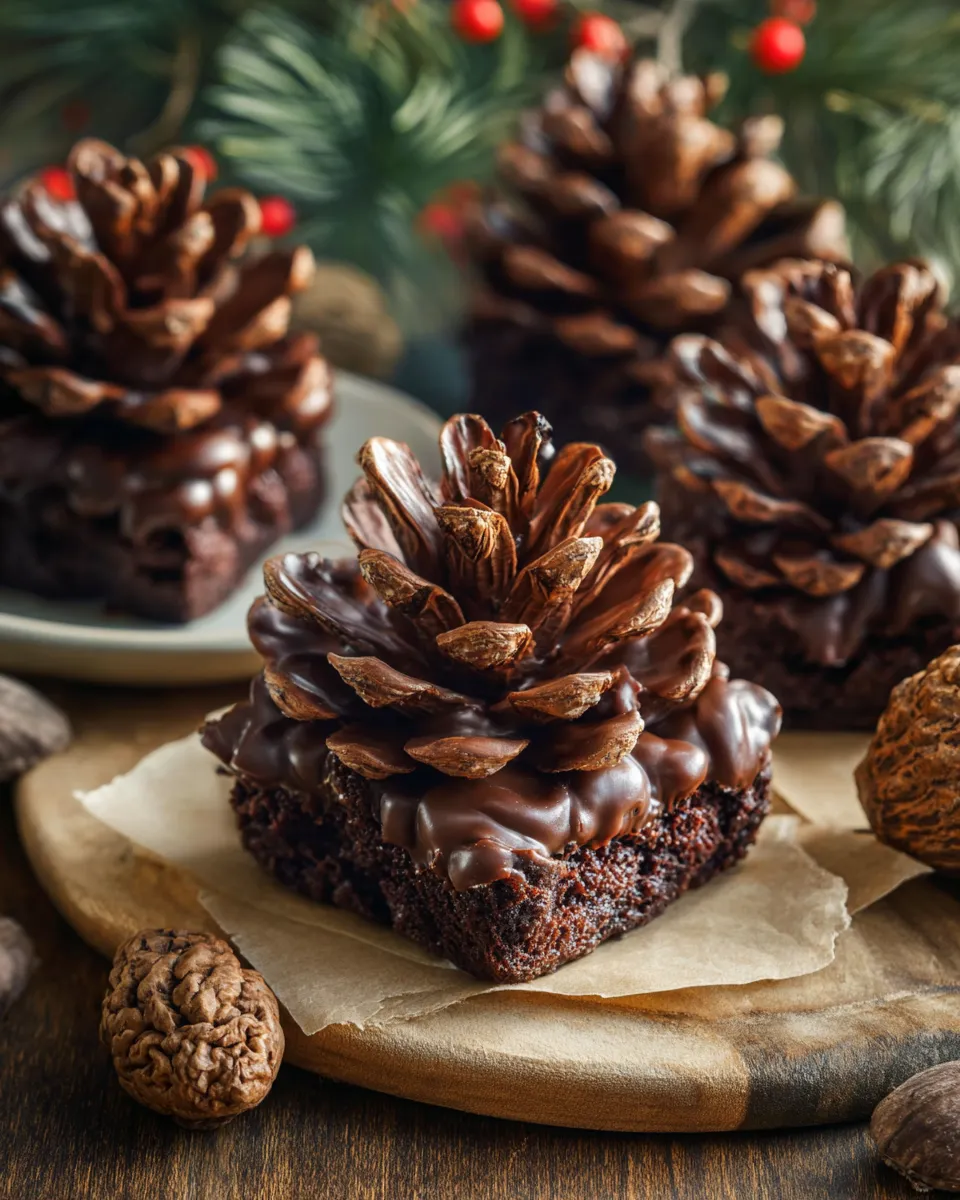
Viral Pine Cone Brownies merge classic fudgy goodness with a playful, pine cone-inspired finish that’s perfect for sharing on Pinterest. Imagine glossy, deeply chocolatey squares crowned with a spruce-inspired array of scales—made from simple nuts and chocolate—that look as festive as they taste.
This bake is approachable for busy weeknights or weekend show-stoppers. It’s forgiving, crowd-pleasing, and easy to customize with dairy-free or gluten-free swaps. Gather your ingredients, line a pan, and let the kitchen fill with the warm scent of chocolate and toasted nuts as you plan your next pin-worthy dessert moment.
Ingredients
- 1/2 cup (115 g) unsalted butter, melted — Tip: stir until smooth; if dairy-free is needed, substitute with coconut oil or a dairy-free butter blend.
- 1 cup (200 g) granulated sugar — Tip: helps create that glossy brownie surface; you can reduce to 3/4 cup for a less sweet version.
- 2 large eggs, room temperature — Tip: adds richness; for vegan option, use flax egg or chia egg substitute.
- 1 teaspoon vanilla extract — Tip: pure vanilla makes the aroma warmer; optional splash of almond extract for a nutty edge.
- 1/3 cup (40 g) unsweetened cocoa powder — Tip: natural vs. dutch-processed changes flavor; dutch-processed yields a deeper color and milder bite.
- 1/2 cup (65 g) all-purpose flour — Tip: for gluten-free, use a 1:1 gluten-free blend; you may need 1–2 tablespoons extra batter if your blend is very starchy.
- 1/4 teaspoon salt — Tip: enhances chocolate; skip if you’re using salted butter.
- 1/4 teaspoon baking powder (optional) — Tip: just a touch helps with a tiny lift, though classic brownies stay fudgy without it.
- 1/2 cup (90 g) semi-sweet chocolate chips or chunks — Tip: melting a portion into the batter amps that molten brownie texture.
- For pine cone decoration (optional but magical):
- 8–12 small almond slices or pecan halves — to mimic pine cone “scales”
- 1/2 cup white chocolate chips, melted with 1 teaspoon coconut oil (for smooth coating)
- 1/4 cup finely chopped toasted almonds or pecans
- Extra melted dark chocolate or chocolate ganache for drizzling (optional)
Instructions
- Preheat the oven to 350°F (175°C). Line an 8-inch square baking pan with parchment, leaving overhang for easy removal.
- Stir the melted butter and sugar together until glossy. Beat in the eggs one by one, then mix in vanilla.
- Sift in cocoa powder, flour, salt, and baking powder. Stir until just combined; don’t overmix for the fudgy texture.
- Fold in the chocolate chips or chunks. The batter will be thick and shiny—this is exactly what you want.
- Spread the batter evenly in the prepared pan. Bake 22–26 minutes, or until a toothpick comes out with a few moist crumbs. The top should look set and glossy, but the center will stay fudgy.
- Cool completely in the pan on a rack. Once cool, lift out using the parchment overhang and cut into squares.
- Pine cone assembly (optional, for a festive look):
- Melt white chocolate with a touch of coconut oil. Dip each almond slice or pecan half in the melted chocolate and place on a parchment-lined tray to set, creating overlapping “scales” down one brownie square to mimic a pine cone.
- Arrange the scales from the base upward in rows, letting them dry in place. Scatter finely chopped toasted nuts over the base for texture, and drizzle with a little melted dark chocolate to emphasize the cone’s edges.
- Let decorations set completely before serving for a crisp, clean look.
Tips & Variations
- Texture tweaks: For a crunchier edge, bake a minute or two longer and let the top crack slightly.
- Flavor swaps: Add a pinch of espresso powder to deepen the chocolate flavor without making it taste like coffee.
- Gluten-free option: Use a certified gluten-free all-purpose blend. If it lacks xanthan, add 1/4 teaspoon xanthan gum to the dry mix for structure.
- Dairy-free: Use dairy-free butter and dairy-free chocolate chips. White chocolate decorations will still look bright and festive on top.
- Make-ahead: The brownie batter can be prepared a few hours ahead and stored covered at room temp; bake when ready to save time.
- Storage: Store in an airtight container at room temperature up to 3 days; freeze baked brownies (unfrosted) for up to 1 month for extra make-ahead flexibility.
Serving Suggestions
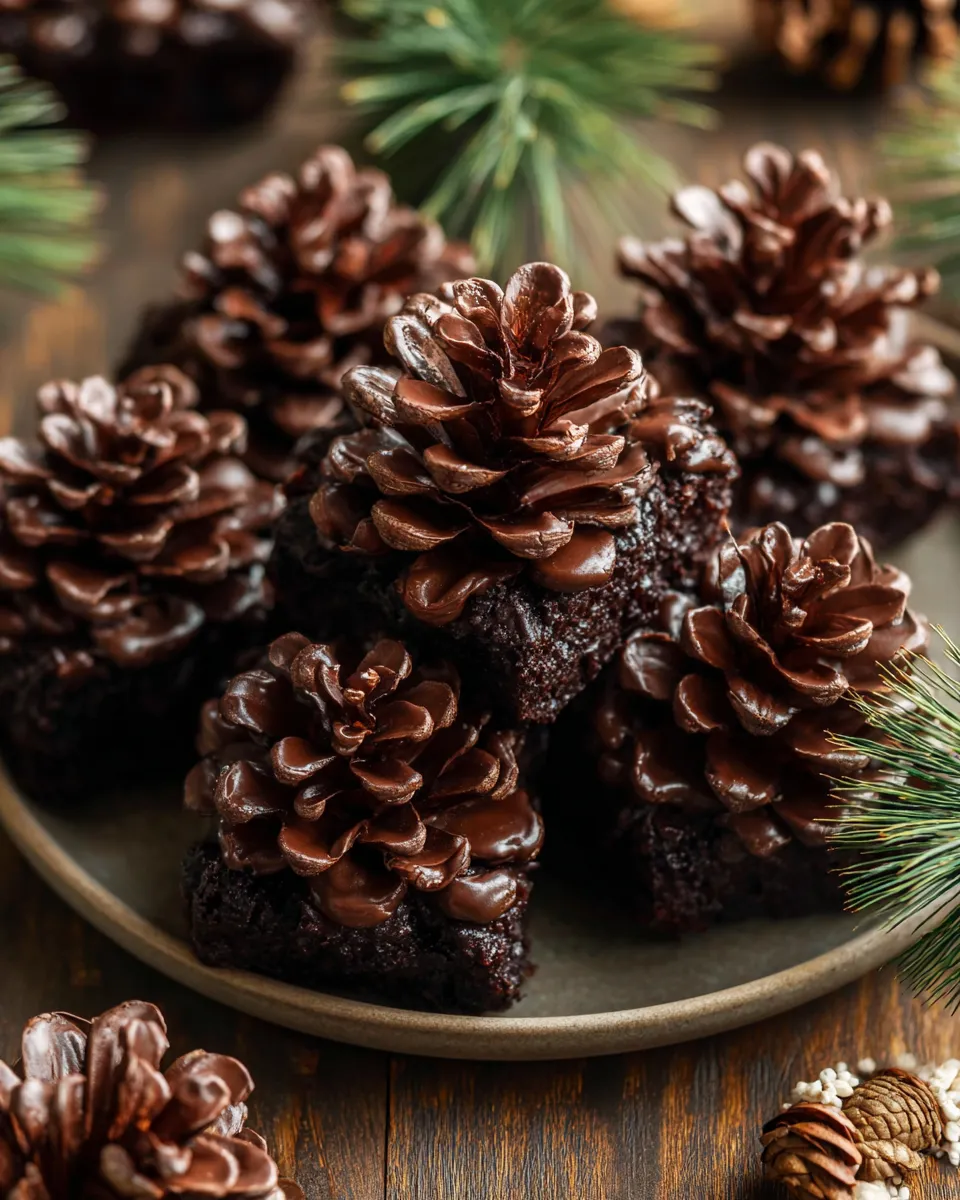
Serve these Pine Cone Brownies with a scoop of vanilla ice cream or a dollop of cinnamon whipped cream for contrast. A light dusting of cocoa powder or powdered sugar adds a snow-kissed finish that photographs beautifully.
Pair them with a simple green salad or citrusy fruit on the side to balance richness. For a cozy after-dinner plate, arrange several brownie squares on a rustic board with a few pine sprigs for a woodland vibe.
FAQs
Can I make these dairy-free?
Yes. Swap the butter for a dairy-free butter or coconut oil and use dairy-free chocolate chips. The flavor stays rich, and the texture remains fudgy.
Can I make these gluten-free?
Absolutely. Use a 1:1 gluten-free flour blend that contains xanthan gum. If your blend doesn’t include gum, add 1/4 teaspoon of xanthan gum to the dry mix for structure.
How do I keep the pine cone decorations from sliding off?
Let the chocolate drizzle and almond slices set fully before stacking more decorations. Work on a cold surface or chill the decorated brownies for a few minutes to help the coating firm up.
What pan size should I use, and can I adjust bake time?
A square 8-inch pan gives thick, fudgy brownies. If you use a larger or smaller pan, adjust the bake time by about 2–5 minutes and start checking early for your preferred center.
How should I store leftovers?
Keep brownies in an airtight container at room temperature for up to 3 days. For longer storage, wrap tightly and freeze for up to 1 month; thaw at room temperature before serving.
Can I freeze the decorated brownies?
Decorations are best added after baking and cooling. Freeze undecorated brownies, then apply the pine cone toppings when ready to serve for a crisp look.
How do I get a shiny, crackly top on the brownie?
Use a good amount of batter in the pan, avoid overmixing, and don’t overbake. A quick bake at 350°F (175°C) followed by cooling on a rack helps form that desirable crackly surface.
Final Thoughts
These Viral Pine Cone Brownies prove that a dessert can be both delicious and delightfully decorative. They’re simple enough for a weeknight treat, yet striking enough to steal the spotlight on Pinterest. Bake a batch, layer on the pine cone decorations, and watch your friends swoon over the cozy, chocolatey charm. You’ve got this—and your oven is about to become your new favorite photo studio.
Print
Viral Pine Cone Brownies Cute NatureInspired Dessert Trend
- Total Time: 40 minutes
- Yield: 16 brownies 1x
Description
Discover Viral Pine Cone Brownies a cute natureinspired dessert trend that combines whimsy with irresistible flavorperfect for a shareworthy treat
Ingredients
Instructions
Notes
Viral Pine Cone Brownies merge classic fudgy goodness with a pine cone-inspired finish. Imagine glossy, deeply chocolatey squares crowned with a spruce-inspired array of scales—made from simple nuts and chocolate—that look as festive as they taste. This bake is approachable for busy weeknights or weekend show-stoppers, with easy dairy-free or gluten-free swaps.
- Prep Time: 15 minutes
- Cook Time: 24 minutes
- Category: Dessert
- Cuisine: American
Nutrition
- Serving Size: 16 brownies
- Calories: 190 kcal
- Sugar: 19 g
- Fat: 12 g
- Carbohydrates: 24 g
- Fiber: 2 g
- Protein: 2 g
Keywords: Array