
Have you ever wondered what makes store-bought protein bars so addictive yet unhealthy?
A staggering 60% of Americans consume protein bars as a healthier snack option, believing they are making a wise choice. However, many of those bars are loaded with sugars, artificial flavors, and preservatives that defeat their nutritious intentions. By making homemade protein Snickers bars, you’re not only eliminating unnecessary additives but also creating a delicious, nutrient-dense treat that satisfies your sweet tooth and fuels your body. This blog post will guide you in crafting a snack that is both healthy and indulgent.
Ingredients List
-
Dates: Nature’s candy, these soft, chewy fruits act as a natural sweetener, providing fiber and essential vitamins.
-
Natural Peanut Butter: A rich source of healthy fats and protein, peanut butter brings a nutty flavor and creamy texture to the bars. You can substitute with almond or cashew butter if you prefer.
-
Protein Powder: Essential for boosting protein content, this can be whey, plant-based, or any blend you like—choose a flavor that complements the other ingredients.
-
Dark Chocolate: Opt for at least 70% cacao for its rich taste and antioxidant properties. You can substitute with dairy-free options if needed.
-
Oats: Rolled oats add a hearty texture and are a fantastic source of complex carbohydrates that keep you full longer.
-
Coconut Flour: Used for added fiber and a subtle coconut flavor, it can be replaced with almond flour for a different texture.
-
Vanilla Extract: This enhances flavor without adding sugar. Ensure you use pure vanilla for the best taste.
-
Salt: Just a pinch amplifies all the flavors and balances sweetness.
Timing
- Preparation Time: 15 minutes
- Cooking Time: 10 minutes (for melting chocolate)
- Total Time: 25 minutes
This is a quick and easy recipe perfect for busy lifestyles, ensuring you can enjoy tasty, nutritious snacks without spending hours in the kitchen.
Step-by-Step Instructions
Step 1: Prep Your Workspace
Start by gathering all ingredients and equipment— a food processor, a mixing bowl, and a baking pan lined with parchment paper will set you up for success.
Step 2: Make the Base
In a food processor, blend the dates until they form a sticky paste. Add in the peanut butter, protein powder, oats, coconut flour, and a pinch of salt. Process until everything is well combined. You might need to stop and scrape the sides to ensure even mixing.
Step 3: Form the Layer
Transfer the mixture into your lined baking pan. Press it down firm and evenly, using your hands or the back of a spatula. Aim for about 1-inch thickness for the best texture after chilling.
Step 4: Melt the Chocolate
In a microwave or double boiler, gently heat the dark chocolate until it’s completely melted. Stir to keep it smooth and avoid burning.
Step 5: Coat the Base
Pour the melted chocolate over the pressed mixture in the pan, spreading evenly with a spatula. Make sure to cover all edges for that delightful chocolate seal.
Step 6: Chill and Set
Refrigerate the bars for at least 2 hours or until the chocolate is firm. This step is crucial for achieving the perfect texture.
Step 7: Cut and Serve
Once set, lift the bars out of the pan using the parchment paper. Cut into your preferred size—whether bite-sized or full bars, they’ll be delicious.

Nutritional Value / Health Benefits
-
High in Protein: Each bar contains a substantial amount of protein from the powder and peanut butter, ideal for muscle recovery.
-
Low in Sugar: Natural sweeteners like dates offer energy without the crash of refined sugars.
-
Rich in Fiber: The oats and dates contribute to increased fiber content, promoting digestive health.
-
Loaded with Antioxidants: Dark chocolate packs a punch with antioxidants, contributing to overall heart health.
Healthier Alternatives
-
Nut-Free Version: For a nut-free bar, replace peanut butter with sunflower seed butter. It packs a similar healthy fat punch without the allergens.
-
Vegan Option: Use plant-based protein powder and select dairy-free dark chocolate to create an entirely vegan-friendly snack.
-
Lower Calorie: Substitute half the peanut butter with unsweetened applesauce to cut down on calories while retaining moisture.
Serving Suggestions
-
Top with Greek Yogurt: Serve alongside a dollop of Greek yogurt for added protein and creaminess.
-
Pair with Fruit: Fresh fruit like berries or bananas complements the rich chocolate and adds a refreshing touch.
-
Dip in Extra Chocolate: For the chocolate lovers, try a quick dip in melted chocolate for an extra indulgent treat.
Common Mistakes to Avoid
-
Not Measuring Ingredients: Accurate measurements are crucial for maintaining the bars’ consistency. Use a kitchen scale for best results.
-
Overdoing the Chocolate: While chocolate adds flavor, too much can overpower the other ingredients. Stick to the recommended amount for balance.
-
Not Allowing Time to Chill: Patience is key! Chilling sets the bars and melds flavors, so don’t skip this step.
Storing Tips
-
Refrigeration: Store your bars in an airtight container in the fridge to maintain freshness. They should last up to two weeks.
-
Freezing: For longer storage, freeze individual bars separated by parchment paper. They can be stored for up to three months.
-
Thawing: Simply take out what you need and thaw on the counter for about 15 minutes before consuming.
Conclusion
Homemade protein Snickers bars are a fantastic way to indulge your sweet tooth without compromising health. By preparing these at home, you’re in control of every ingredient, ultimately creating a bar that’s tasty and nutritious. Try this recipe, and don’t forget to leave a review or comment about how your bars turned out!

FAQs
- A: Q: How long do homemade protein Snickers bars last?
- A: They can last up to two weeks in the fridge or three months in the freezer when stored correctly.
- B: Q: Can I substitute the peanut butter?
- A: Yes, almond or cashew butter works well if you’re looking for alternatives.
- C: Q: Are these bars high in calories?
- A: While they are calorie-dense, they offer significant nutritional benefits. You can adjust the ingredient ratios to fit your dietary needs.

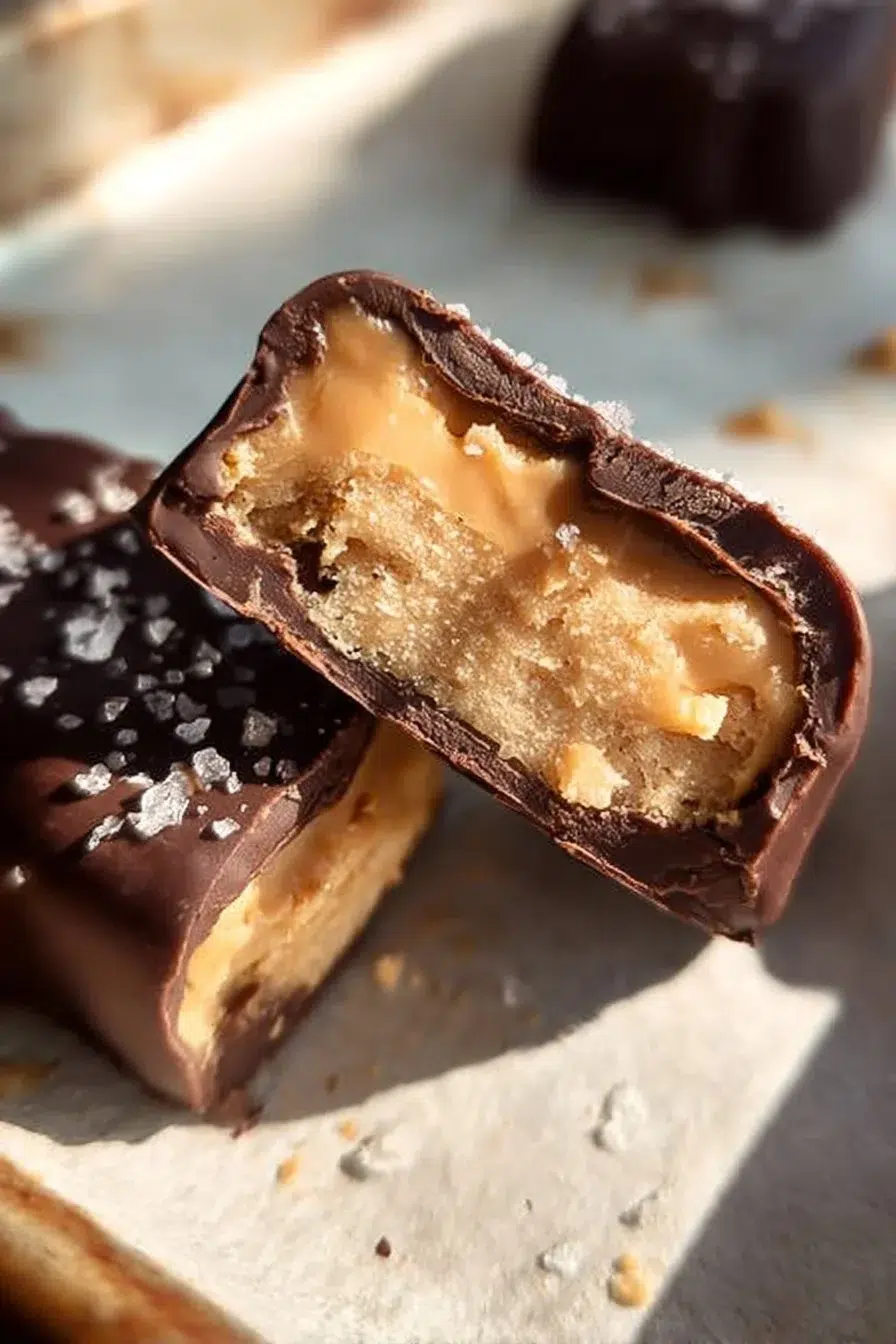
Homemade Protein Snickers Bars
- Total Time: 25 minutes
- Yield: 12 bars 1x
- Diet: Vegan, Gluten-Free, Nut-Free Option Available
Description
Delicious homemade protein Snickers bars that are healthy, nutrient-dense, and satisfy your sweet tooth without additives.
Ingredients
- 1 cup dates
- 1/2 cup natural peanut butter (or almond/cashew butter)
- 1/2 cup protein powder
- 1/2 cup dark chocolate (at least 70% cacao)
- 1 cup rolled oats
- 1/4 cup coconut flour (or almond flour)
- 1 tsp vanilla extract
- Pinch of salt
Instructions
- Prep Your Workspace: Gather all ingredients and equipment—food processor, mixing bowl, and lined baking pan.
- Make the Base: Blend dates in a food processor until sticky. Add peanut butter, protein powder, oats, coconut flour, and salt. Process until combined.
- Form the Layer: Press the mixture into the lined baking pan to about 1-inch thickness.
- Melt the Chocolate: Gently heat the dark chocolate until melted.
- Coat the Base: Pour the melted chocolate over the pressed mixture, spreading evenly.
- Chill and Set: Refrigerate for at least 2 hours until chocolate is firm.
- Cut and Serve: Lift the bars out and cut into desired sizes.
Notes
Store bars in an airtight container in the fridge for up to two weeks or freeze for up to three months.
- Prep Time: 15 minutes
- Cook Time: 10 minutes
- Category: Snack
- Method: No-Bake
- Cuisine: American
Nutrition
- Serving Size: 1 bar
- Calories: 200
- Sugar: 12g
- Sodium: 50mg
- Fat: 10g
- Saturated Fat: 3g
- Unsaturated Fat: 7g
- Trans Fat: 0g
- Carbohydrates: 25g
- Fiber: 4g
- Protein: 8g
- Cholesterol: 0mg
Keywords: protein bars, homemade snacks, healthy desserts, vegan snacks, no-bake protein bars